
How to Apply Thermal Screed: A Step-by-Step Guide
Share
In modern construction, energy efficiency is no longer a luxury, it’s a necessity. One of the best ways to improve floor insulation and reduce heat loss is by applying thermal screed. This lightweight, insulating screed not only provides a strong and level base for your floor finishes but also contributes to energy efficient flooring solutions in both new builds and renovation projects.
Whether you’re a homeowner planning a renovation or a contractor working on a large development, knowing the correct screed application method is essential. This guide will walk you through each stage of applying thermal screed, with practical tips to help you achieve durable, professional results.
What is Thermal Screed?
Thermal screed is a cement-based mixture blended with lightweight insulating aggregates. It is designed to reduce heat transfer through the floor, making it ideal for:
- Homes with underfloor heating systems
- Renovations requiring underfloor insulation
- Projects where insulated flooring is needed for comfort and energy savings
- New builds aiming to meet higher thermal efficiency standards
Compared to standard screed, thermal insulation screed offers both strength and insulation, helping to lower energy bills while creating a durable surface for final finishes.
Step 1: Prepare the Substrate
The base surface (usually a concrete slab) must be structurally sound and clean. Remove dust, grease, and loose debris. Repair cracks or holes to ensure the screed bonds properly.
💡 Pro Tip: Apply a bonding primer on porous substrates to prevent weak adhesion.
Step 2: Install Floor Insulation Boards
For maximum performance, lay rigid floor insulation boards before pouring the screed. This adds an extra layer of protection against heat loss and improves overall thermal efficiency.
- Fit the boards tightly together, leaving no gaps.
- Seal edges with tape to prevent thermal bridging.
- Choose boards with good load-bearing capacity.
Step 3: Mix the Thermal Screed
Proper mixing is key to strength and insulation.
- Use a forced-action mixer (not a free-fall mixer).
- Follow manufacturer ratios for cement, lightweight aggregate, and water.
- Mix until you achieve a uniform, workable consistency.
⚠️ Common Mistake: Avoid adding excess water. It weakens the screed and prolongs drying.
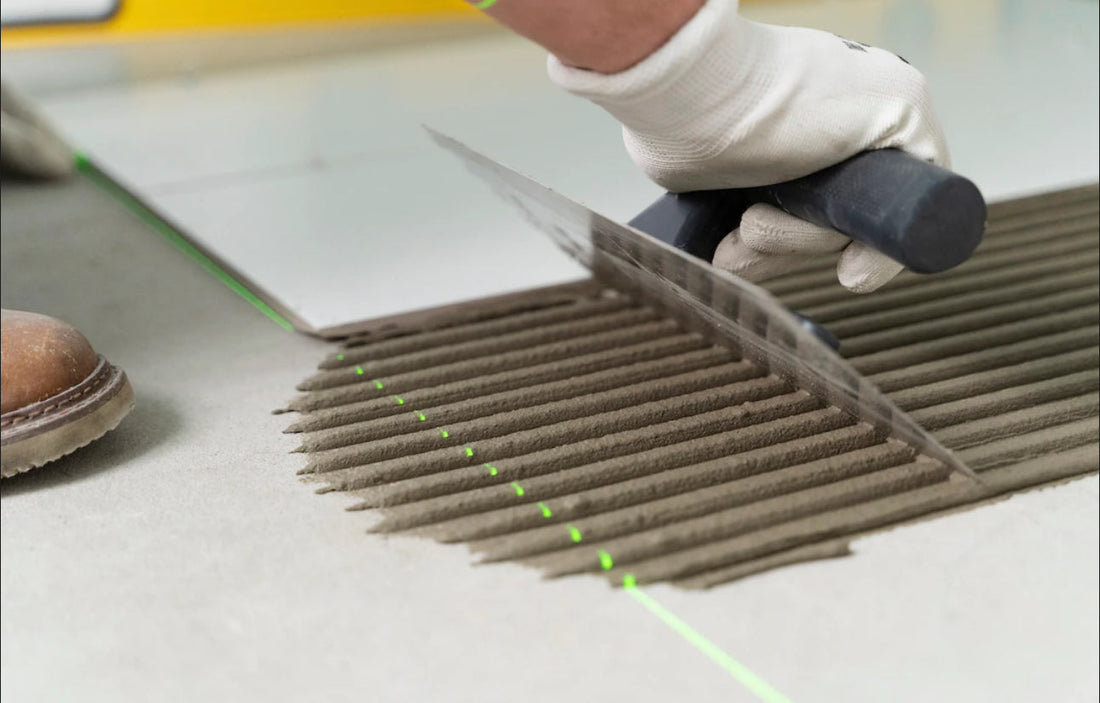
Step 4: Apply the Screed
- Pour the mixture over the prepared surface.
- Spread evenly with a rake or trowel.
- Maintain a consistent thickness (50–75mm is typical).
💡 Pro Tip: If you’re using underfloor heating, make sure pipes or cables are fully covered and evenly encased in screed for consistent heat distribution.
Step 5: Compact and Level
Compacting eliminates air pockets and increases density.
- Use a straightedge or screeding bar to level the surface.
- Compact gently but thoroughly for durability.
This step ensures your insulated flooring is both strong and energy efficient.
Step 6: Allow for Curing
Curing allows the screed to harden properly:
- Protect from direct sunlight, frost, or rapid drying.
- Allow 3–7 days before light foot traffic.
- Full drying may take up to 28 days depending on thickness.
⚠️ Common Mistake: Walking on the screed too early can cause cracks and weaken the insulation properties.
Step 7: Prepare for the Final Floor Finish
Once cured, check moisture content before applying the finish. High moisture can damage adhesives, wood flooring, or vinyl.
Compatible finishes include:
- Ceramic and porcelain tiles
- Engineered wood
- Laminate flooring
- Carpet or vinyl
Extra Tips for Success
- Always follow the manufacturer’s guidelines.
- Use expansion joints in larger areas to prevent cracking.
- Pair thermal screed with lightweight screed solutions for upper floors.
- Plan drying time into your project schedule.
Frequently Asked Questions (FAQs)
1. How thick should thermal screed be?
Typically between 50–75mm, though some products allow thinner layers.
2. Can I use thermal screed with underfloor heating?
Yes — it improves heat distribution and reduces energy loss.
3. How long does it take to dry fully?
Initial curing takes 3–7 days; full drying for floor finishes can take up to 28 days.
4. Is thermal screed suitable for all projects?
It’s best for ground floors, basements, and any project needing insulated flooring.
5. What’s the difference between thermal and standard screed?
Standard screed only levels the surface. Thermal screed combines leveling with construction insulation properties.
Conclusion
Applying thermal screed correctly ensures long-lasting, efficient, and comfortable floors. From underfloor insulation to improved thermal performance, it’s an essential solution for both homeowners and contractors seeking energy efficient flooring. With proper preparation, mixing, and curing, you’ll create a strong and reliable base for any floor finish.